 |
When you are ready for your helicopter flight training you should contact Orv Neisingh at Sho-Me Helicopters, LLC to discuss your needs and to schedule your training. If you will be training in a Rotorway helicopter, and after we have made contact, you will need to fill out the questionnaire under the Pre-Instruction Check List button and email that to orv@flywithorv.com . This list helps us assess your state of readiness before your flight instructor arrives so that you can both be better prepared for any additional work that might need to be done. The closer your helicopter is to being airworthy, the more time you will have for flight training.
The student is responsible for:
1. Providing an airworthy helicopter for use in flight training.
2. Reimbursing Sho-Me Helicopters, LLC for all travel expenses incurred in getting your flight instructor to your location and return home.
3. Providing meals and lodging for the flight instructor while he is away from home. The specific arrangements will be made by telephone in advance.
4. Securing an area where the helicopter can be safely flown for the flight training desired. Again this should be discussed with your instructor prior to his arrival at your location.
5. Having on hand at least a set of basic hand tools for making adjustments on your helicopter(Experimental helicopters only).
6. You will need your set of maintenance manuals available for reference .
7. You should have read the FAA handbook FAA-H-8083-21. titled the Rotorcraft Flying Handbook prior to begriming your flight training. It will familiarize you with the controls and aerodynamics of your helicopter and can be purchased from sources such as Amazon.com or Sporty's pilot shop.

|
Above
is a photo of the RFH. Paragraph #7 above has a link to Amazon |

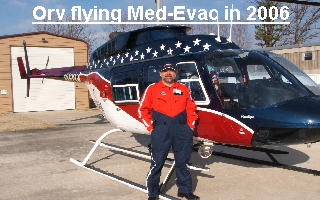
Following my first flight training session as a student pilot I was ready to quit. I stayed with it and the photo above shows me receiving my temporary airman's certificate following my check ride with Stretch Wolter at the Rotorway factory. Learning to fly helicopters is one of the most challenging things you can do, but it is also one of the most rewarding when you finally make it.
If you are planning on bringing your helicopter to our training center we have several large hangars, that you can see on the home page, that sit at the edge of our three acre hover training area. We also have our own private grass night approach lighting with an illuminated wind sock. We have fuel tanks with long hoses on site for refueling your helicopter. The photo below shows a typical arrival day when the student's helicopter is being readied for unloading. Once we have the ship off your trailer we spend some time giving it a complete airworthiness inspection an then install the main rotor blades. When the helicopter is ready, we begin your flight training. If you are a beginning student we focus our time on the basics; learning the control input and feel of the collective, anti-torque pedals, throttle, and cyclic. Be prepared, it can be and will be frustrating at first.

If I am traveling to your location we will first give the helicopter a thorough inspection to insure that it is ready to fly. The Check List items give the student a guide as to what we should have accomplished to insure we are ready for flight training. Depending upon the type of flight training we will be conducting, some of the items on the list can wait until after we are finished with the flight instruction but should be completed prior to flying many more hours. You can discuss any questions you may have with me prior to my arrival at your location.
Our Flight instruction day usually starts as early as you want to get to the hangar. We do a thorough pre-flight inspection of the helicopter before we begin our flight training sessions for the day. You may have noticed that many of the photos of my student's helicopters show that the rear panels are removed. The helicopter does not look as sharp with the panels off but this allows us excellent visibility to keep an eye on all of the drive train components as we put the new helicopter through it's paces. If any problem begins to develop we will be able to quickly see it as we inspect that area after every flight.
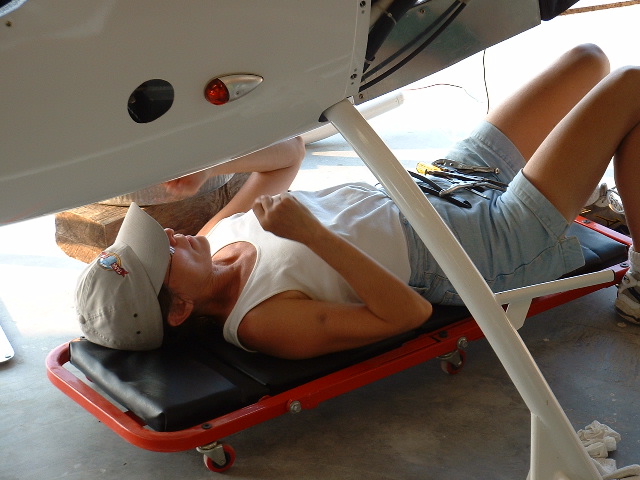 |
During your flight
training your instructor will also teach you how to properly service
your helicopter. This instruction is non-gender specific. |
Your helicopter flight training day continues until you are ready to quit. We can train up to the legal limit of 8 hours a day but it is more typical to put in 4 or 5 hours due to the fatigue factor. Many of my students who usually are "night owls" end up excusing themselves and going to bed quite early because they are just worn out from the rigors of learning to fly their helicopter. I have yet to have a student wear me out before they reach their limit.
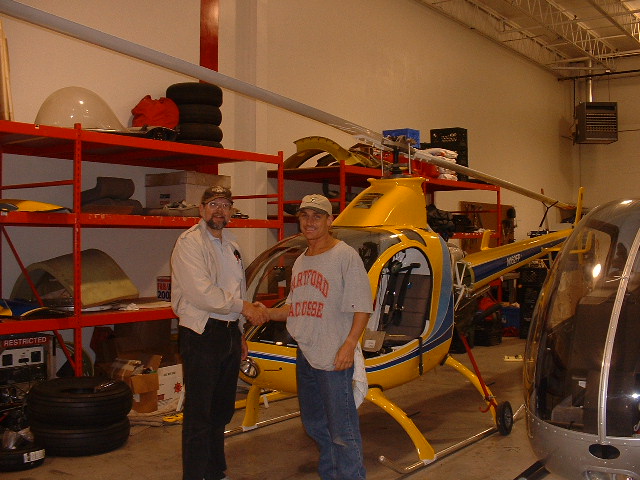
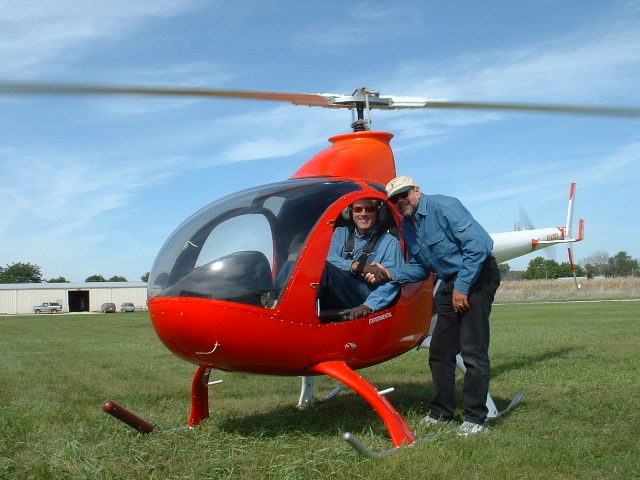
In the photo below I am congratulating Brad L. on his completion of Phase II Helicopter Flight Training in his Rotorway Exec 162F
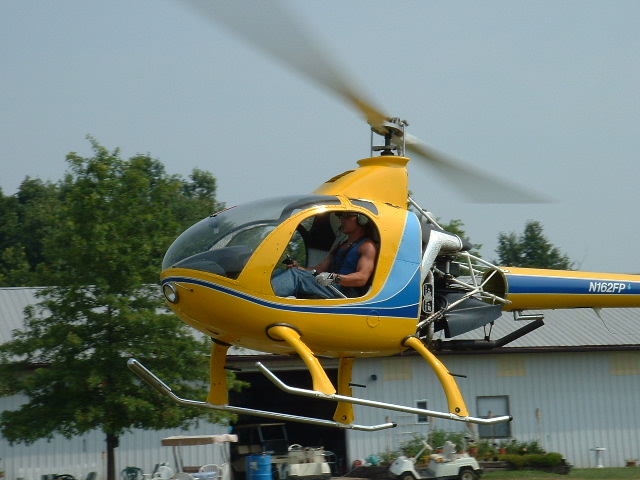
The Photo below is of Brad L. performing his first solo Autorotation following a week of Phase II flight instruction at his home in Connecticut. He trailered his helicopter to a helicopter meet where this photo was taken.
Tom Doran is one of my former students. He published the following testimonial in an aviation publication and sent a copy to me for the web site.
I did my initial training with Orv last year. I spent
two weeks
with him, staying at his home. He is a great instructor. Very
knowledgeable, patient, and experienced. Also, the West Plains area
has a number of great airports where training can be conducted. At
West Plains, we were able to practice hovering, maneuvering, and
autos for extended periods with few instances of interrupting
training for other traffic. It was like having a private airport.
There are several airports within 20 miles of Orv's place, so you
can do some cross-country and get pattern practice at different
airports. Typically, you can fly 4-6 hours per day. If you are
like me, that type of total immersion training works best. While at
Orv's, there were no distractions to divert my attention from
training.
In summary, I highly recommend Orv for initial training.
He
absolutely demands that all aspects of helo operations be done
precisely and correctly. He is hard, but good. After flying in
Missouri, I fell in love with the area, and have considered retiring
out there. Good people, beautiful country, cheap land and beau coup
airports. Almost heaven.
Tom Doran 4-15
The flight training is just the beginning of a great new adventure that few are able to even imagine. So get that helicopter ready and let's go flying.
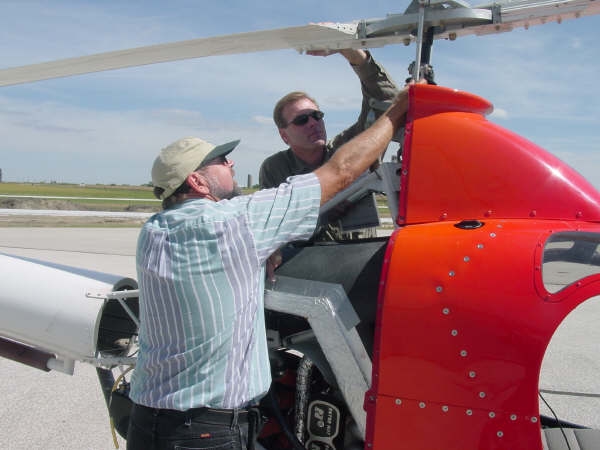 |
Your flight instruction will include training
on inspecting and maintaining your helicopter. |
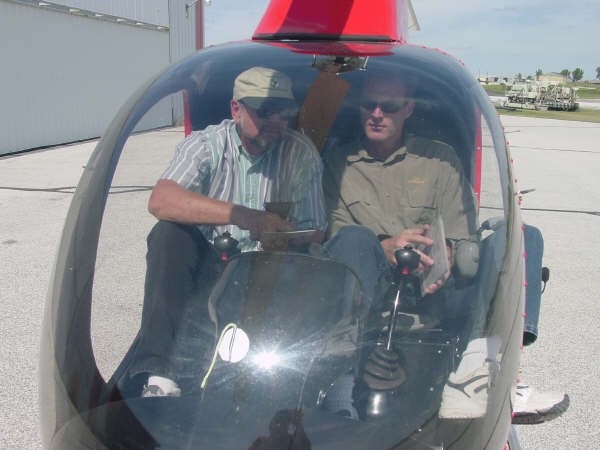 |
Your instructor will cover every aspect of your
check lists prior to flight training |
 |
It is hard work to learn to fly a helicopter, but look at that smile after the first solo flight. Raymond Butler sent the following comments: Hello Orv, I have found that those students who fly remote control helicopters seem to learn to fly the real thing faster than those who do ont fly the remotes. If you would like to view what one person rigged up to prep himself for training CLICK HERE |
||||
To view a collage
of a first solo flight Click
Here.
|
||||